Category Archives: Uncategorized

Control Box Assembly

The control box has 2 switches for Record Load & Mech Power Switch, also it controls the Cancel Relay

Location of the Control Box

The control box assembly Part List:

Wire diagram

There’s something else exciting. The 5 ohm 11 watt resistor is not shown in the wiring diagram. Also not listed in the part list

Special Thanks to Ralph for providing the Article and Pictures

1448 Model differences

When I was seeking for part for my Rock-Ola 1448 I noticed that they made a lot of changes durring the two year production of the Jukebox and I think they made more changes on this model than on any other model.

What I noticed that the serial numbers go from : 144633 until 172931 (estimated amount made 29.000)  source

Between the early and late serial numbers you see that they started to mix parts.

Early serial numbers:

  • Orange amplifier, power supply, accumulator box and stepper

  • Orange surrounding of dress panel

  • Four triangle glass panels

  • Order of pushbuttons: Gold – Black or Gold & Black in pairs, numbering on drum in equivalent colours in pairs

  • Dress cap record player is Gold

Late serial numbers:

  • Blue amplifier, power supply, accumulator box and stepper

  • Blue surrounding of dress panel

  • Outside panels left and right are metal grills, two inside panels are triangle glass

  • Order of pushbuttons: Gold – Blue or Gold & Blue in pairs, numbering on drum in equivalent colours in pairs


  • Dress cap record player is Blue (I think it is the same as on the 1454 and do not know if those are repairs or originals, but when you search there are a lot of 1448 with a blue dress cap)

More pictures of the colors:

Popularity counter

The working of the popularity counter

To the strip guide of the small slide:
It is in the original a nylon band, which is fixed at one end is knotted on the small sledge. Then the belt runs to the right, “above” via one of the brass rollers; from there once completely around the large silver wheel on the mechanical center axle and from there back to the second brass roller and via a small mainspring back to the carriage.

The nylon strap is taken along on the large silver crown wheel via a small hole in the outer edge of the crown wheel, through which the Nylon cord is pulled, and where it is pulled with a small washer is knotted and thus secured against slipping.
The position “carriage” and “knotting point” of the nylon cord on the Crown wheel must, if no longer by the original constellation are determined experimentally.
It is best to place the sledge in the middle of the running track and pull the nylon cord (guided over the two brass rollers) half a Winding around the crown wheel (knotting hole of the crown wheel should of course in position “12 o’clock”). Then knot and secure there.
After that, the sledge should run nicely to the right and left and unwind or unwind the nylon cord on the crown wheel.

Build in: How the Base plate is mounted, you can see on the box. The big crown wheel should be plugged in together with the bracket and left loose become. The Bowden cable is hung at the top of the hole of the cam, which is replaced by the “black sheet with the recess” at the left end of the gripper shaft runs. The train is laid below the retaining plate of the Turntable. Holes with threads are already provided for this purpose.
Perlon rope (specialist dealer) with 1 mm diameter can be used for the rope become. This is hung with a loop on the left side of the car, runs then around the pulley on the left and then 2 times !!! around the big crown wheel, then right pulley and by means of spring to the right side of the Car.

Adjustment: After assembly, select plate 1 and mechanics before the Stop lifting the plate using a mechanical switch. Then the cart at the counter with the rear hook that is supposed to push the counting wheel, aligned to counter wheel 1 by turning the crown wheel. Now crown wheel tighten in the groove with the two square screws. The mechanics Continue running and observe whether the counter wheel 1 is pushed. Then check for plate 120 counters. Readjust if necessary.

The axle with the wheels must be very light to work well run, therefore clean well. Each counter wheel should move individually without pulling the neighbouring wheel.
By the way, the counter (game counter) is used when the plate is placed completely pulled through – to the correct length adjustment of the Bowden cables!

source

Speakers

Model 1448 was one of the first models which had a two way speaker system (see foto below), what was called high-fidelity sound, or, more common: HI-FI.


But not all customers were ready for this sound improvement, so on this amp-unit, a switch (F) was mounted to deliver the old sound. Which would mean that the tweeter would then be switched off, thus the sound only coming from the woofer!

The internal speakers are:

1x 15″ JENSEN Speaker (woofer), used by many jukebox manufacturers. That might be one reason why JENSEN and Rock’n Roll are often used in the same manor.


The C15N/8 is an ideal replacement for those with a field coil used in Rock-Ola 1448 and 1454. It can be used in other AMI, Seeburg, and Wurlitzer jukeboxes as well. Though it does not have the AlNiCo magnet the sound is very well.

ØWattOhmdBDepthVoice Coil
Data Sheet
385 mm / 15″100897.4142.5 mm/ 6.1″38 mm / 1.5″Datenblatt Lautsprecher

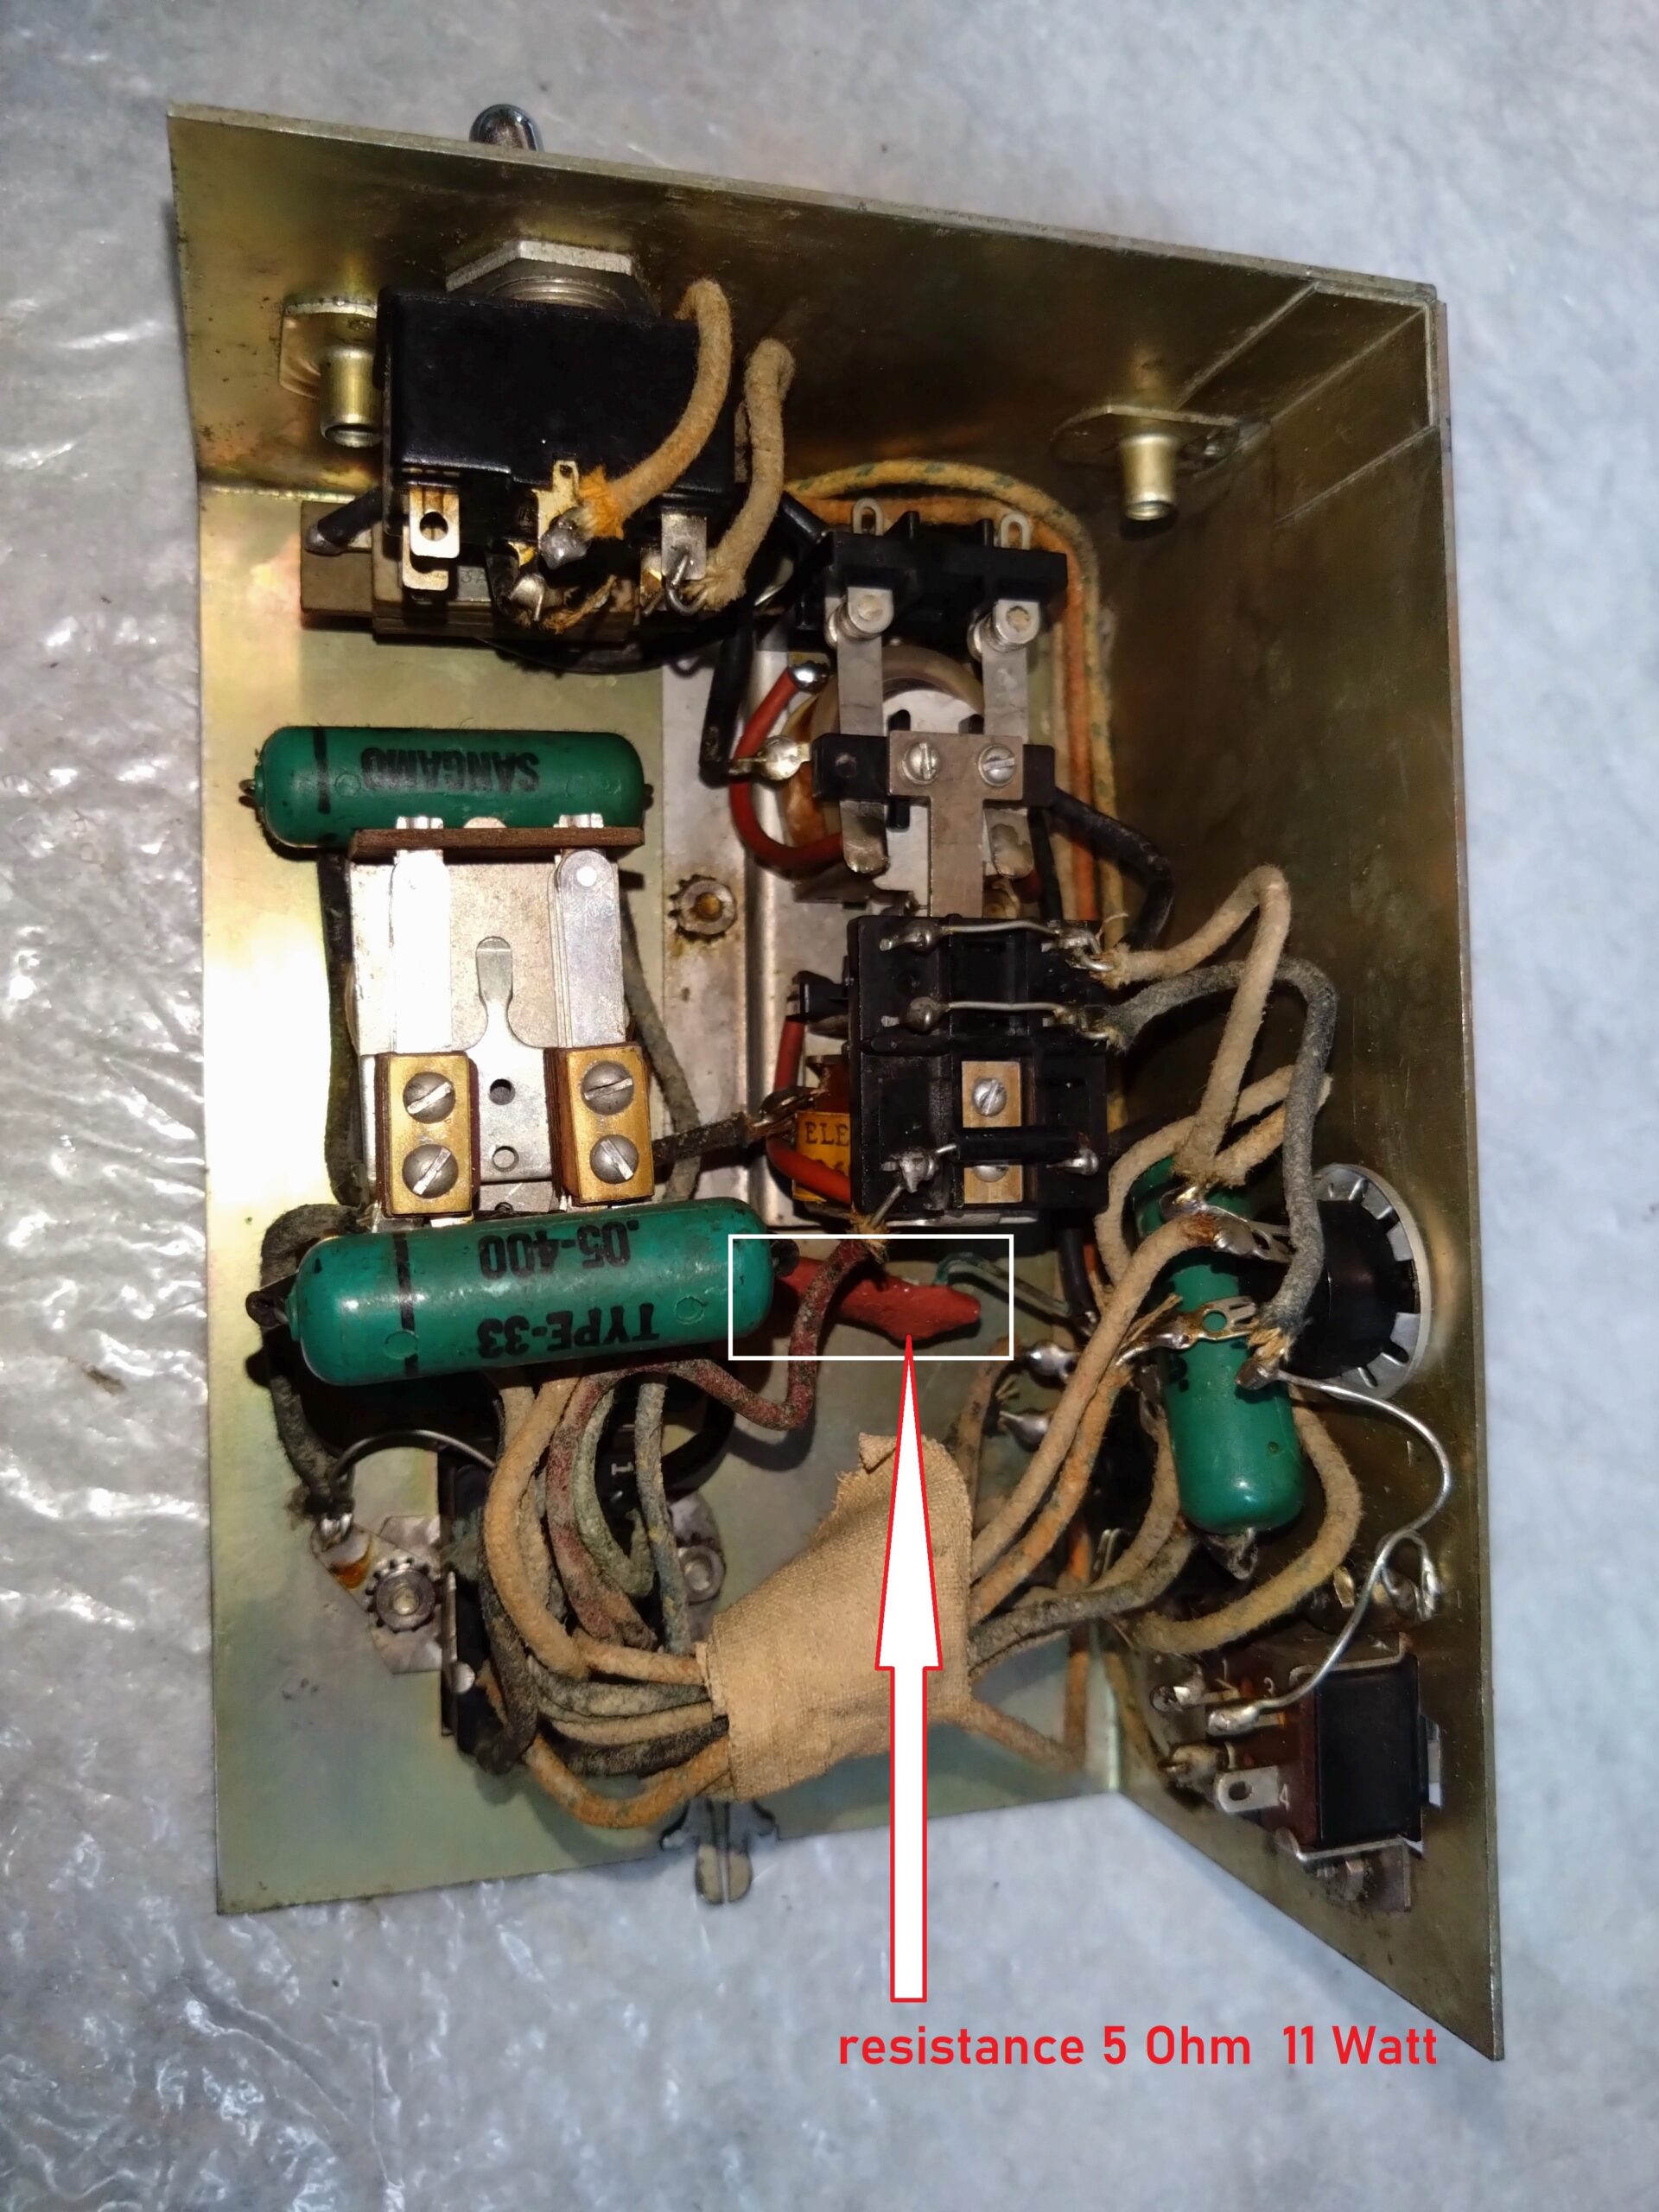
Please note: The winding of the field coild should be replaced by a min. 50 Watt load resistor.

1x Hi-Frequence rectangular horn


Piezo Horn Tweeter as a good value replacement for the high frequency horns used in some Rock-Ola, Seeburg, and AMI jukeboxes.

Size:80 x 186 mm
Depth:105 mm
Outer hole width:170 bzw. 67 mm
Frequency:1,8 – 20 kHz
Sound pressure:110 dB

This Piezo Horn can be installed without crossover network. A small resistor might be used in serial connection.

External Speaker

What I know three models of spearkers could be connected external to the jukebox.

Corner speaker model 1616 & 1615

and

the Super Tonette speaker